Special Feature: Mushroom and Asparagus Frittata

20140629_Mushroom and Asparus Fritata_IMG_7914_edited-1

While most New Yorkers go out for brunch on Sunday, we often stay in.

This morning, Kim was inspired to make a frittata using some extra asparagus from the Penne with Asparagus, Sage and Peas and left over mushrooms from the Grilled Fontina, Mushroom, and Sage Sandwiches. Here’s a few thoughts on Sunday brunch at home from Kim.

Brunch at home can be so much more relaxing and elegant than going out and standing online for an hour plus! Frittatas are one of my go-to brunch items. They are nice way to use up leftover vegetables and making a frittata is much less hassle than omelets. Plus, I love that they go in the oven for a bit, giving me a chance to clean up the kitchen, get some fruit or other accompaniments together, and pick out some nice music to listen to over brunch.

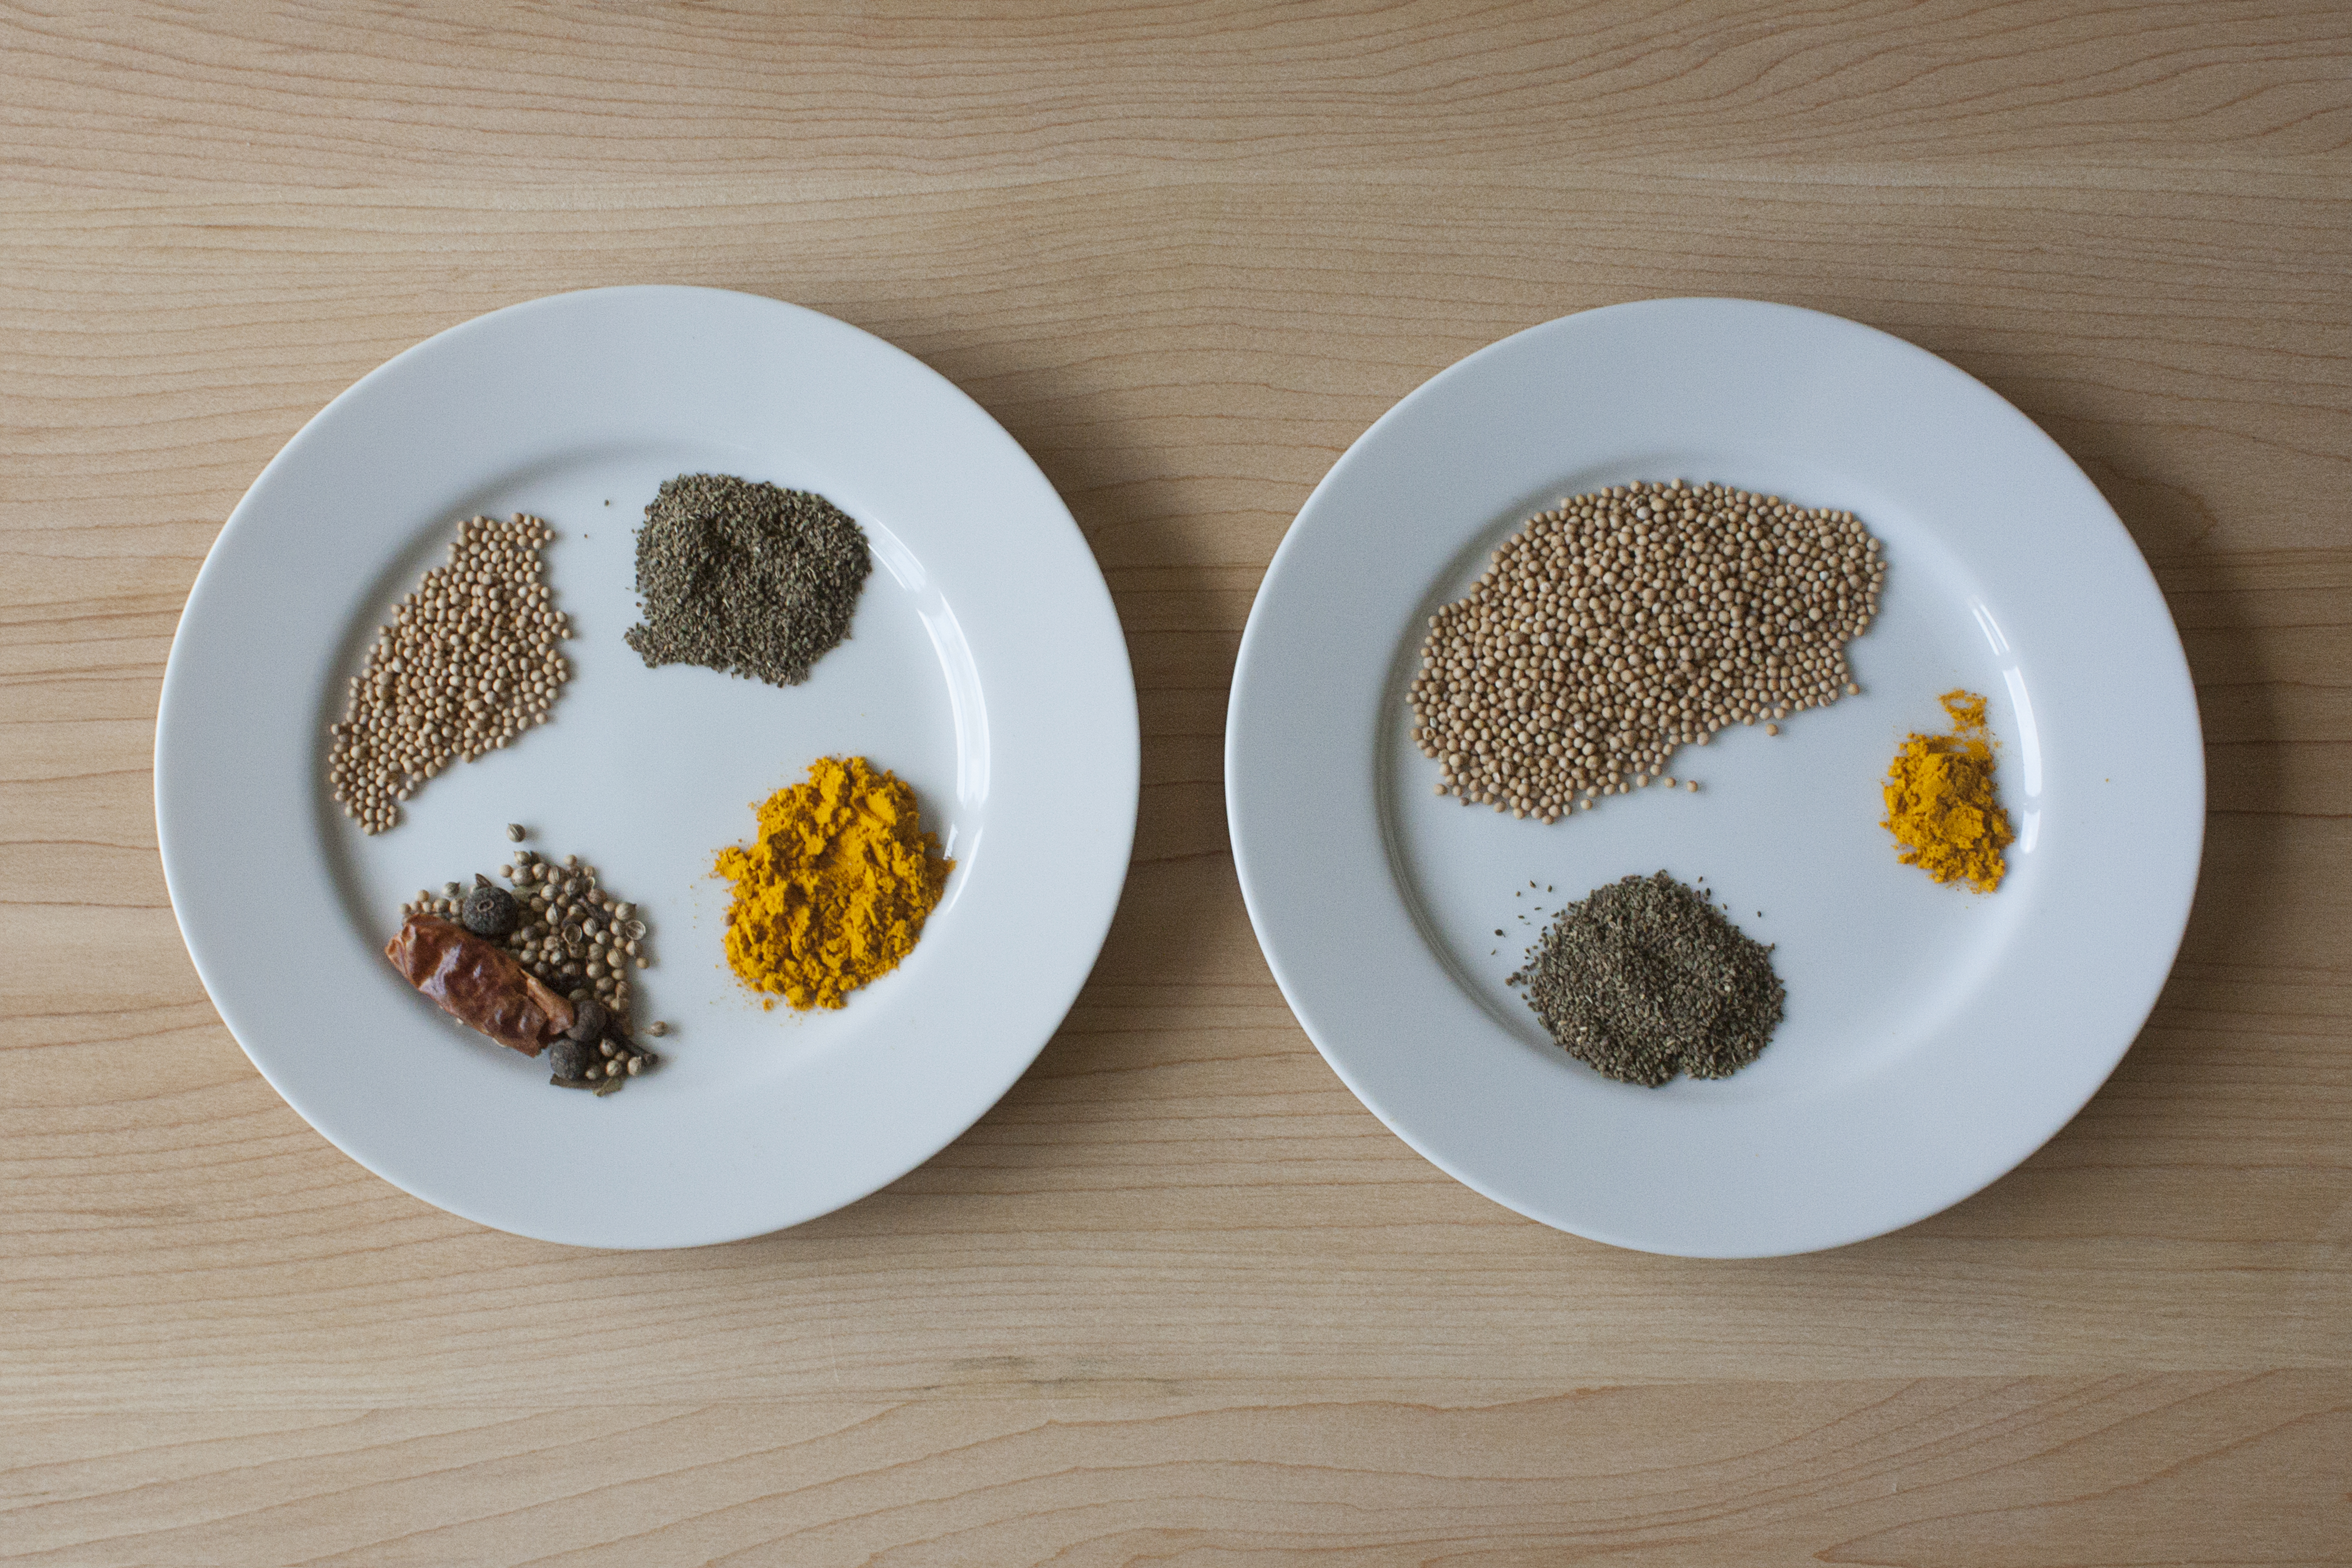
I started by pre-heating the oven to 375 degrees and heating over medium-high heat a little olive oil in a 12-inch non-stick pan then sautéed the asparagus (cut into about ½ inch pieces) and some sliced mushrooms and added just a touch of salt and pepper. This took only a few minutes but while this was going, I quickly whisked together eight eggs, salt, pepper, some fresh thyme leaves and approximately half a cup of freshly grated parmesan. I took the vegetables out of the pan and let them cool just a bit before adding to the egg mixture. As I waited for them to cool, I chopped up some tomatoes and chives to put on top of the frittata when I served it.

After combining the vegetables with the egg mixture, I heated a little bit of olive oil over medium heat in the same 12-inch non-stick pan and added the egg mixture. I left it alone on the heat for just about three minutes (time to do a few dishes!) until the eggs just started to set. I then put it in the oven and set the timer for 10 minutes. I used that 10 minutes—you guessed it—to finish clean up and rinse some raspberries to have as side.

20140629_Mushroom and Asparus Fritata_IMG_7905_edited-1

After 10 minutes, I checked the frittata and thought it needed just two more minutes. I was right! After two additional minutes, it was perfectly set but not over done. The next part is tricky but worth it. I ran a rubber spatula around the sides of the frittata to loosen it just a bit and then slid it on to a cutting board, making it easy to cut into nice wedges. I then plated the frittata slices with the tomatoes and chives sprinkled on top and the raspberries on the side. This recipe makes enough probably for four people (the thinking being two eggs per person) and the leftovers keep nicely for several days and make for a special weekday breakfast treat.

20140629_Mushroom and Asparus Fritata_IMG_7909_edited-1

Posted in Uncategorized | 1 Comment

Special Feature: Bread and Butter Pickles

20140629_Pickles_IMG_7863_edited -1

With the Fourth of July coming up, Tony figured it was time for his annual, summertime ritual of making bread and butter pickles. This year though, he decided to try something a little different:

For the past couple of summers, I’ve been making bread and butter pickles. If you’re not familiar with them, they are thin-to-thick pickle slices that are more sweet than sour because sugar is added to the brine. They’re great with all sorts of barbecue, burgers and hot dogs, and, of course, sandwiches. The name, at least according to a couple of internet sources, originated in the Great Depression, either because a) they were eaten as commonly as bread and butter or b) were eaten for lunch with bread and butter.

My go to recipe has been Alton Brown’s B and B’s, which have never failed to please and have garnered me lots of compliments along the line of “You made these? They’re awesome!” Last week, however, I came across a new recipe on Twitter that was very intriguing: Lori Lange’s recipe for bread and butter pickles on her fantastic Recipe Girl blog, which you have to read if you haven’t yet. What really caught my eye about Lori’s pickles is that the recipe uses both white and brown sugar. I decided that I needed to have a (very informal) pickle-off and try them both side by side.

Both recipes contain the same two key ingredients: sliced cucumbers and sliced onions. For the cukes, I used smallish, thin pickling cucumbers that I purchased at Whole Foods. They are straight and about an inch thick, a shape and size that give nice round slices, and about six inches long. Lori’s recipe specifically calls for sweet onions, while Alton’s doesn’t specify which kind to use. We have a mandolin, but I did all the slicing by hand, which took a little while, but was somehow very satisfying. If you don’t know, a mandoline is a cutting device. It’s basically a long, thin platform on short legs with a raised blade in the middle. You run whatever you want to cut back and forth across the platform (by hand of course) and the blade does the rest of the work. We have one, and it really does speed things up. Despite the safety features, I have an innate distrust of the thing and rarely use it, as I suspect “mandoline” is French for “finger-detatcher”.

20140629_Pickles_IMG_7870_edited-1

The spice mixes for the two kinds of pickles are similar, but not identical, either in type or in quality, as the picture below shows. Alton’s recipe, which is the left plate, uses equal amounts of (clockwise from top left) mustard seed, celery seed, turmeric, and pickling spice, while Lori’s uses (clockwise from top left) much more mustard seed, much less turmeric, the same amount of celery seed, and no pickling spice. I’ve already mentioned that the two recipes use different kinds of sugar, but they also use different kinds of liquid: water and cider vinegar for Alton’s recipe and white vinegar and cider vinegar for Lori’s.

20140629_Pickles_IMG_7876_edited -1

The methods for the two recipes are also a little different. Lori’s recipe calls for salting the pickles, putting them in the fridge for 1 1/2 hours, and then adding the brine. This worked out really well, because Alton’s recipe doesn’t have a salting step, so I was able to make the two batches in parallel; the 1 1/2 hours was more than enough time to finish his recipe. This is a good planning tip to remember: if a recipe has a long stretch of down time, it’s a great opportunity to work on something else, like cleaning up the kitchen, making another dish, or just testing the beer or wine for proper taste, temperature, and quantity.

When preparing the brine, you want to make sure you simmer it long enough to dissolve all the sugar and open up all the flavors of the spices. One final note: boiled vinegar can be a little, shall we say, pungent. It’s not super stinky, but if you leave your kitchen / apartment and come back later, you will notice the smell. It should dissipate after a little while and is a small price to pay.

I’m going to let both kinds of pickles sit in the fridge for a week and then try them both Fourth of July weekend. Check back in then for the results of the pickle-off!

20140629_Pickles_IMG_7889_edited -1

Posted in Uncategorized | 3 Comments

June 28, 2014 – Grilled Fontina, Mushroom, and Sage Sandwiches

20140629_Mushroom and Fontina Sandwiches_IMG_7896_edited-1

This evening, we made Grilled Fontina, Mushroom, and Sage Sandwiches, which we were originally going to have Thursday night. Tony describes exactly how they came together.

We had made these sandwiches once before, but had forgotten how quick and easy they are, a perfect quick dinner before heading out. It’s probably a little light for a full dinner, but we had a late lunch, so it was ideal for us. I have a feeling these sandwiches are going to work their way into our weekend lunch plans quite often.

When I say quick and easy, I really do mean it: this dish went from fridge to table in about 30 minutes, if that. The prep work was very minimal. I sliced up four medium-sized mushrooms as thinly as I could, grated about a quarter pound of fontina, and chopped up two teaspoons of sage. (As usual, we were cutting the recipe in half.) There’s also very little cooking to be done. I browned the mushrooms in butter for about five minutes. While this was happening, I had time to brush one side of each piece of bread – the side that will touch the grill, of course – with melted butter. We used a round loaf of whole wheat bread, which added d a little sweetness to everything, but have used country bread in the past, which was just as good.

Once the mushrooms were done, it was time to assemble. I placed the fontina cheese, which was nice and soft after sitting out for a few minutes, on the bread and the mushrooms on top of the cheese. Then it was time to grill.

While I was cooking the mushrooms and assembling the sandwiches, I was also pre-heating our grill pan over medium heat, so it was ready to go at the same time the sandwiches were. This step took me no time at all. I did two minutes a side and then one minute more on the first side, which wasn’t browned as much as I wanted it to be. I cut the sandwiches in half and plated them with a small green salad with dressing that Kim had made earlier in the week.

The sandwiches were amazingly flavorful, with the mushrooms, fontina, and sage coming together in a combination of earthy, nutty, and savory . The crunch of the toasted bread was a nice contrast to the creaminess of the fontina and the soft chewiness of the mushrooms. The ratio of taste delivered to work involved for this recipe is off the charts!

20140629_Mushroom and Fontina Sandwiches_IMG_7902_edited-1


Posted in Uncategorized | 2 Comments

Menu for the Week of June 29, 2014

20140629_Menu_IMG_7879_edited-1

Two at the Table_Menu_Week of June 29 2014

This will be a bit of a busy week, with several dinners out, so we won’t be cooking as much as usual. We’ll try to make up for that by introducing you to a fun breakfast recipe.

Sunday is another Yankee game, this one against the Red Sox. With an 8:05 start, that means we’ll definitely be having dinner at the ballpark. So instead of dinner, we’re making breakfast in the form of  Glazed Lemon-Ginger Scones. These are very easy to make and, since you don’t have to knead or roll out the dough, require very little space. The recipe makes eight scones, which should be enough to get us through the week.

Dinner on Tuesday is an old favorite: Fish Tacos with Chipotle Cream. This is a great summertime dish as it’s very quick, so the stove isn’t on for long, and goes well with both cold beer and chilled wine. Tony bought a six-pack of Shiner Ruby Redbird, which is made by the fine folks who bring us Shiner Bock beer. The beer is flavored with grapefruit and ginger, which should make for an interesting pairing.

On Tuesday night, Tony will be taking the second of a two-part photography class, so Kim will be on a her own for dinner. We have some leftovers from lat last week, plus a few things in the freezer, so she should be OK.

Wednesday night will feature Caramelized Onion, Spinach, Roasted Red Pepper and Ricotta Salata Crostini, from Joanne Bruno’s great blog Eats Well With Others. We saw these delicious crostini on Joanne’s Twitter feed last week and thought they sounded like a perfect idea for a light dinner.

On Thursday night we will have dinner out to celebrate Kim’s recent promotion. (Yea Kim!) We are going to Hearth, a restaurant we have been wanting to try for a long time. The menu looks fantastic and since Hearth is taking part in the Summer of Riesling, Kim’s favorite wine, she is ecstatic about our plans.

Friday is, of course, the Fourth of July. We usually stay home on the Fourth and make something traditional, like burgers or hot dogs, but we decided to leave the city and take a day trip up to Beacon, NY and have dinner there. Kim wants to revisit DIA: Beacon, a fun and funky art museum, while Tony wants to revisit The Hop, a fun and funky beer bar/restaurant.

We decided we would make a Fourth-of-July appropriate dinner on the Fifth and are going to try Real Simple’s Sheet-Pan Clambake With Mussels, Shrimp, and Chorizo. We will order as many ingredients as we can from Fresh Direct, but will head out to Whole Foods Saturday morning to buy all the seafood we will need, so that it will be as fresh as possible.

Posted in Uncategorized | 2 Comments

June 27, 2014 – Penne with Asparagus, Sage and Peas

20140627_Penne with Asparagus, Sage and Peas_IMG_7833_edited-1

Tonight we made Penne with Asparagus, Sage and Peas, a simple pasta dish that we thought would be perfect for a Friday night when we didn’t want to do a lot of complicated cooking. Tony describes making the dish:

There was a little prep work to do at the start, but nothing too involved. This was a good opportunity to practice “mise en place”, a French phrase that means “putting in place”, as in prepping and organizing all the ingredients I was planning to use. This can be a little tricky in a small work space, but I was able to do it this time, since the recipe is so simple. You can get away with just prepping the things that need to be chopped, sliced, etc., and using the things that need to be measured, like liquids and spices, as you need them, but in my experience, this can make it easier to forget to add something.

First there was a little knife work: slicing the asparagus and chopping the garlic and sage. Since we don’t usually keep grated parmesan in the fridge – we think it tastes a little better when we grate it fresh – the next step was to grate the cheese. I got the peas out of the freezer (no need to measure since we were using all that we had left) and the right amount of butter out of the fridge. The last step involved measuring out the liquids: two cups of chicken stock, which was used to boil the asparagus, a quarter cup of cream, which was used to make the sauce, and a glass of wine, which was used to keep the cook happy…

20140627_Penne with Asparagus, Sage and Peas_IMG_7840_edited-1

I basically followed the recipe as written, since this was our first time making it. The only changes we made grew out of the need to use what we had on hand. For example, the recipe says to use thick asparagus, but we used a bunch that was very thin. I can’t imagine this changed the taste of the dish in any way, but having thinner pieces probably made it look a little more elegant than if we had used great big hunks of asparagus. Also, we only used one cup of peas, since that’s all we had in the freezer.

The cooking process itself is very simple. You cook the garlic and asparagus for a few minutes over low heat, then add the chicken stock and boil the asparagus over high heat for several more minutes, then add the peas and cream and boil (still over high heat) a few minutes more. The tricky part is following instructions like these:

  1. Add the stock and boil over high heat until reduced by half and the asparagus are tender, about 5 minutes.
  2. Add the peas and cream to the skillet and boil over high heat until the sauce has thickened, 3 minutes.

Time guidelines are usually pretty helpful, but how long something actually takes will depend on lots of things, like the pot you’re using and how much heat your burners put out when set to “High”. (In our kitchen, the answer to that last question is “enough to smelt iron ore into steel”.) It takes a little practice to know when something has reduced by half. Take comfort in the fact that if you reduce too much, you can always add more liquid. Plus keep in mind that asparagus is a pretty tough veggie, so an extra minute or two of boiling for this recipe probably isn’t going to ruin it.

Thickening a sauce, however, is a little trickier, as there’s a chance you might burn it. Depending on what you’re making, there are way to test for thickness. Probably the most popular of these is whether the sauce coats the back of a spoon, but that won’t work for every recipe, including this one. Again, it takes practice. I also ask myself two questions as I’m reducing the sauce. Is there anything I’m going to add later that will make the sauce thicker? In this case the answer was yes: the parmesan. That gave me a little leeway, so I stuck much closer to the three minutes in the recipe. If I’m not adding anything later, and there aren’t more “reduce” or “thicken” steps coming up, the second question is a simple one: how does it look? If it’s soupy and runny, it’s going to look terrible on your plate and more important, won’t stick to anything – except the bottom of your plate.

The final result, as you see below, looked pretty good and tasted even better. For a simple dish, there was a lot going on. There was sweetness from the peas, a little bitterness from the asparagus, and lots of savory flavor from the sage. This dish also has a nice mix of textures: soft peas, al dente pasta, and still crunchy asparagus. We make a similar pasta recipe with peas and lettuce (sounds a little odd but it’s very good!) that uses pancetta, which we thought would be a fun thing to try next time. We might also go to the other end of the spectrum and make this dish vegetarian but replacing the chicken stock with veggie stock. For tonight though, it was the perfect dish to close of the work week.

20140627_Penne with Asparagus, Sage and Peas_IMG_7855_edited-1

Posted in Uncategorized | Leave a comment

June 26, 2014 – Baked Orzo with Shrimp, Tomato Sauce, and Feta

Tonight we made the Baked Orzo with Shrimp, Tomato Sauce, and Feta that we originally were going to have on the 25th. Tony describes making the dish:

20140626_Baked Orzo with Shrimp_IMG_7792_edited-1

Since we’re halving the recipe, there was very little prep for this dish, so I was finished very quickly, in about 10 or 15 minutes. I was done so quickly, in fact, that I was able to start this post while waiting for Kim to get home from work. All I had to do was chop the onion, mince the garlic, crumble the feta, and slice the olives and I was basically done. (I don’t really count opening the can of crushed tomatoes, which I didn’t have to do anyway because we had some in the freezer left over from another dish, and unwrapping the shrimp as prep.) There’s a little measuring that needs to be done, but I did all that while the dish was cooking.

20140626_Baked Orzo with Shrimp_IMG_7786_edited-1

We followed the recipe pretty exactly, as this was our first time making it. The only intentional change we made was to use extra-large, not large, shrimp. The larger shrimp didn’t take much longer to cook and I don’t think they changed the flavor or texture of the dish. This was what the shrimp looked like when they were done (the photo is a little blurry because of the steam coming out of the pot):

20140626_Baked Orzo with Shrimp_IMG_7805_edited-1

Once the orzo was done, I drained it, returned it to the pot, and then added the shrimp and tomato mixture. The final step was almost like making lasagna, except instead of alternating layers of pasta, sauce, and cheese, I alternated layers of shrimp and orzo with layers of feta. The only unintentional change I made was to sprinkle the olives on top before the dish went into the oven, because I forgot to stir them in right after I added the shrimp to the pot.

20140626_Baked Orzo with Shrimp_IMG_7822_edited-1

We have another baked orzo and shrimp recipe (two actually) that we like to make and while this one was good, it wasn’t as good as either of those other two, one of which uses lots of dill and the other of which uses fennel. We ended up sprinkling some dill on this dish after we plated it, because it needed a little more flavor and a little more color. We decided we would make the dill version of this recipe next time, but would try adding the Kalamata olives, just to see what happens!

20140626_Baked Orzo with Shrimp_IMG_7829_edited-1

Posted in Uncategorized | Leave a comment

Special Feature: A Little More about Us

We’ve gotten a few questions about us from our readers, so we thought we would share those periodically. We’ll mix the Q’s & A’s in with our usual posts and also add them to our “About Our Blog” page.

Q: What time do you usually get home?

A: It varies a bit (like it did last night!), but Tony usually gets home around 7:00 and Kim usually gets home around 8:00. We typically sit down to dinner at about 8:30 or so. This means that we try to choose weeknight recipes that take no more than an hour from start to finish. Since Tony gets home earlier, he might do some prep work for meals Kim is going to make, but the deal is that whoever is making dinner does everything except the dishes. (However, having a small New York City kitchen means that “clean as you go” is the rule!)

Posted in Uncategorized | Leave a comment

June 25, 2014 – A Slight Change of Plans

20140624_Updated Menu_IMG_7781_edited-1

So we didn’t make the baked orzo with shrimp Wednesday night as planned. It wasn’t a question of motivation, it was just simple math. We both got home from work late, at about 8:45. It usually takes us about 15 minutes to change, wash up, and start cooking. That would have put our cooking start time at 9:00. Dinner, according to the recipe, would have taken 1 hour and 5 minutes. So we asked a simple question: do we want to eat dinner at 10:00 or later? If it was a Friday or a Saturday, we probably would have said: “Sure, why not! Let’s make some cocktails while we’re at it!”, but it being a “school night”, this wasn’t really an option. So we ordered in (Mexican, if you’re wondering) and sat down to dinner within about 20 minutes of ordering.

The picture you see above is our menu for the week. Every week, we list out the days, note the ones where we know we won’t be making dinner (like Sunday, Tuesday, and Saturday this week) and then decide what to make for the rest of the week. When we have a night like last night, we just rearrange the schedule. As you can see, we moved the Baked Orzo with Shrimp, Tomato Sauce, and Feta to Thursday night and the Grilled Fontina, Mushroom, and Sage Sandwiches to Saturday, when we’ll probably have them for lunch (but having them for dinner is an option too). It’s important to stay flexible, because things will come up. Since we really want to make everything on the menu and certainly don’t want to waste anything, it’s not too hard to move things around, usually within the same week. The upside of not making something one week is that you already have one dish ready to go for the next week!

Posted in Uncategorized | Leave a comment

June 23, 2014 – Baja-Style Rosemary Chicken Skewers with Avocado and Grapefruit Salad

20140623_Baja-Style Rosemary Chicken_IMG_7771_edited-1

Tonight we (finally!) made the Baja-Style Rosemary Chicken Skewers with the Avocado and Grapefruit Salad. We both got home on the late side, but really wanted to try this dish, so we did something we rarely do: we made dinner together, side-by-side, in our tiny, “one-butt” New York City kitchen. Since we teamed up on the cooking we’ll also team up on the writing. See if you can guess who wrote what!

Making the marinade was very simple: all the ingredients went into a bowl and got mixed together. The only change I  made, which turned out to be a really good one, was to substitute chipotle pepper flakes for red pepper flakes. Prepping the chicken was easy too. Once I cut the thighs into smaller pieces, I just added them to the marinade, mixed to coat, and let them sit for 20 to 30 minutes. Threading the chicken pieces onto the rosemary skewers was a little tricky and one of the thinner skewers actually broke, but all in all, it was not that hard.

I made the full amount of salad dressing so we would have it around if we wanted to make the avocado/grapefruit salad again or if we just wanted to have a different salad later in the week. For the salad itself, we didn’t exactly halve the recipe they way we normally do. We did use one grapefruit instead of two, but only used one avocado instead of the two we would have used if we were halving everything. (The recipe calls for four avocados.)

20140623_Avocado and Grapefruit Salad_IMG_7766_edited-1

We deviated from the recipe a bit when it came time to cook the chicken.  We don’t have a grill, but we do have a cast-iron grill pan, which works just as well. The only problem is the apartment gets a little smoky when we use it, so cooking the chicken on it for 20 minutes wasn’t going to work. Instead, we cooked the chicken in the oven at 350 degrees for about 15 minutes and then finished it on the grill  pan (which we pre-heated for about 10 minutes on medium-high heat) for about three minutes a side. The only problem was that the longer rosemary sprigs, which hung over the edge of the grill pan and were exposed to the flame from the burner, kinda sorta caught on fire. Fortunately, we never leave the grill unattended when we use it and had a spray bottle of water close at hand!

The change to the cooking technique worked out very well – the chicken came out very moist with a really nice char. The dressing was perfect with the avocado and grapefruit and I especially liked the instruction at the end that called for sprinkling the salad with salt and pepper, which gave everything a little more flavor.

Posted in Uncategorized | 1 Comment

Menu for the Week of June 22, 2014

Two at the Table_Menu_Week of June 22 2014

First, a confession. You may have noticed that while we posted this week on Greek-Style Fish With Marinated Tomatoes with Cous CousBlackberry Chicken with Salad, and Cheddar-Cheese Grits with Spicy Black Beans, we did not post on the Baja-Style Rosemary Chicken Skewers with the Avocado and Grapefruit Salad. The reason for this is quite simple: we totally bailed on making dinner that night. We both got home on the late side and were completely exhausted. Rather than plod through making dinner, we just ordered in. And you know what? That’s OK. Part of why we can make dinner at home most nights of the week is we accept that we’re not going to be able to do it every night, even on all the nights when we plan to. We make sure that cooking never becomes just another task, but rather something that we’re excited to do as soon as we walk through the door. If the passion is not there, we figure, why bother?

With that out of the way, we have an interesting week ahead. We have another Yankee game Sunday afternoon, and it will be a full day: a number retiring ceremony at 11:00, the Old Timers’ Day game at noon, and the regularly scheduled Yankee game at 2:00. If we do have dinner after six hours at the ball park, we want it to be quick and simple. Enter the leftover Cheddar-Cheese Grits with Spicy Black Beans from last week.

We’re still determined to try the  Baja-Style Rosemary Chicken Skewers with the Avocado and Grapefruit Salad, and since we bought all the ingredients last week, it’s on the menu for Monday night. We’re going to pair this with a 2008 Verdejo from Naia winery in Spain.

Tony has a photography class on Tuesday night, so Kim opted for a simple dinner: hummus with an English cucumber and, since it will keep for a couple of weeks, the remaining endive from the Apple, Fennel and Endive Salad With Feta we had the week before last.

Wednesday night is a new recipe for an old favorite: Baked Orzo with Shrimp, Tomato Sauce, and Feta. We had some orzo pasta in the cupboard, so this is a good way to use that up. We’re getting groceries, and thus the shrimp, Sunday evening, so the shrimp will go in the freezer for a couple of days. We’ve done this before and the shrimp has always come out fine. Fro this dish, we bought a bottle of Varada do Conde Vinho Verde, a white wine from Portugal.

For Thursday, we thought it would be fun to make grilled cheese sandwiches, so we’re making a great recipe we’ve tried once before: Grilled Fontina, Mushroom, and Sage Sandwiches. This is a very easy dish that tastes amazing – earth and cheesy and savory and that pairs well with wine or beer. This time, we chose beer: Dogfish Head’s 60-Minuite IPA.

We thought we would make pasta Friday night and found a recipe that will let us use more of the fresh sage we purchased this week as well as some penne we had in the pantry and some peas we had in the freezer. (Somehow, it always seems like we have half a box of penne in the pantry and half a box of frozen peas in the freezer!) The dish is Penne with Asparagus, Sage and Peas, but we might add some mushrooms if we have any left over from the grilled cheese sandwiches. We’ll pair this with a white Bordeaux from Chateau Lamothe de Haux. (We should point out that all of the wines mentioned with this week’s menu were purchased on Fresh Direct and all we’re less than $16.)

We have tickets to the ballet Saturday night, so we’ll probably end up having dinner out. And that wraps up another week of planning for Two at the Table!

Posted in Uncategorized | 2 Comments